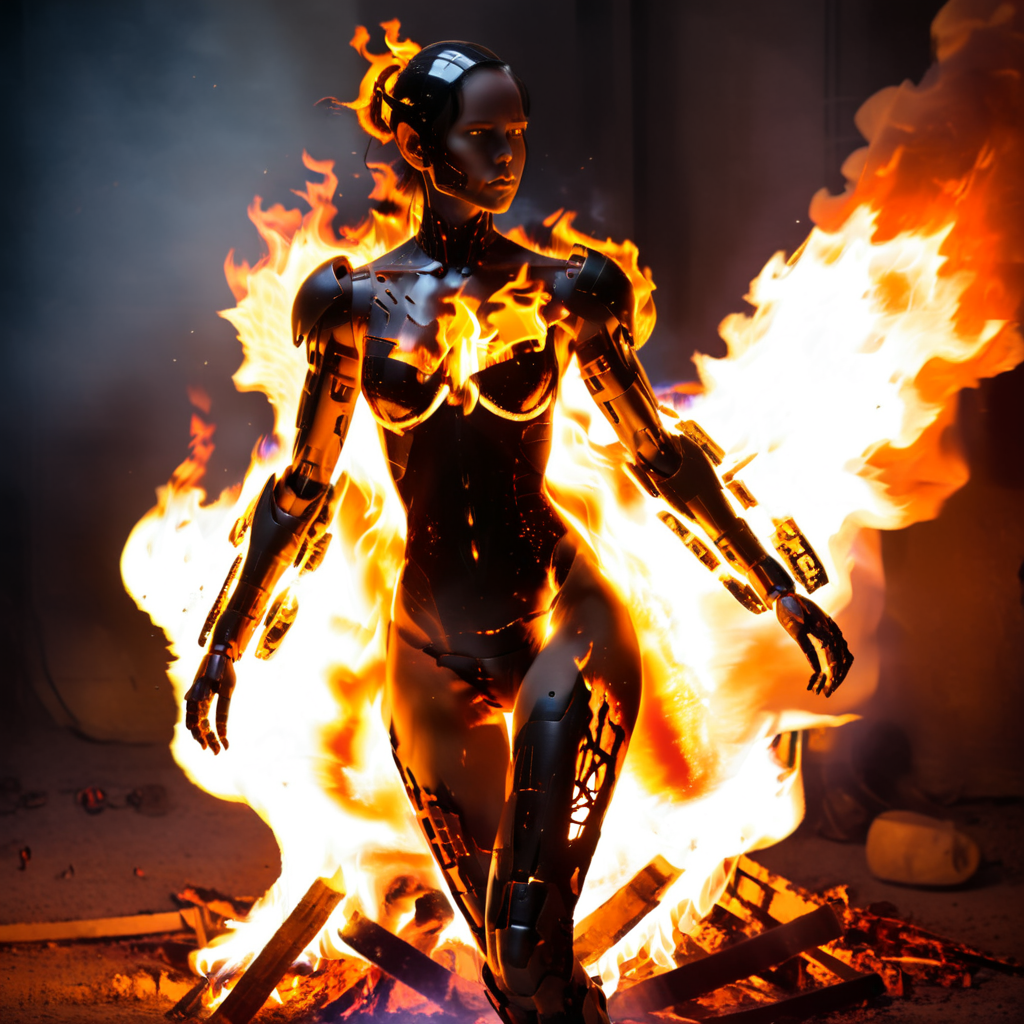
Welcome to episode four of the ComfyUI tutorial series. In this post, we will explore the image-to-image (IMG2IMG) workflow and how to download and use LoRA models in ComfyUI. This tutorial is based on the SDXL text-to-image workflow, which utilizes the SDXL base stable diffusion model.
Video for tut
https://www.youtube.com/watch?v=xedwjtaPVzw&list=PL-pohOSaL8P9kLZP8tQ1K1QWdZEgwiBM0&index=4
Understanding the IMG2IMG Workflow
The IMG2IMG workflow allows you to use an existing image as a starting point for generating new images. Instead of beginning with an empty canvas, you can load your own image. To do this, we will use the Load Image node, which allows you to upload your chosen image. For this example, we will select an image of a bunny in a forest.
Converting to Latent Mode
Once the image is loaded, we need to convert it to a format that stable diffusion understands, known as latent mode. This is achieved using the VAE Encode node. After connecting the VAE to the model, we can proceed to cue the prompt. However, you may notice that the original image does not significantly influence the output. This is due to the Denoising Strength value, which is set to one by default.
Denoising Strength Explained
The denoising strength determines how much the output image will differ from the input image:
- Low Denoising Strength (e.g., 0.1): The output will closely resemble the input image with only slight modifications.
- High Denoising Strength (e.g., 1): The output will be transformed into a nearly unrecognizable state, allowing for a completely new image to be generated based on the prompt.
Think of it as adjusting the opacity of tracing paper. A low denoising strength means the tracing paper is transparent, allowing the original drawing to be visible, while a high strength makes it opaque, enabling the creation of a new image.
Experimenting with Denoising Values
In practice, starting with a denoising value of around 0.6 is recommended. This allows for some changes while still retaining the essence of the original image. For example, setting the value to 0.5 or 0.4 may yield different results, while a value of 0.9 could produce a completely different image. For a prompt like “robot bunny,” a value of 0.65 is effective, ensuring the bunny remains in the same position but is transformed into a robot.
Image Size Considerations
When working with images, it’s essential to consider their size. The SDXL model works best with images around 1024 pixels. If you load a larger image, you may encounter memory issues. For instance, loading an image that has been upscaled four times may lead to long processing times or errors. To avoid this, resize your images using software like Photoshop or utilize the Upscale Image node within ComfyUI to adjust the dimensions appropriately.
Copying and Pasting Images
If you want to use a generated image as the new input without saving and reloading it, you can copy the image directly from the output and paste it into the Load Image node using the control+v shortcut. This allows for a more efficient workflow.
Now, let’s shift our focus to LoRA (Low-Rank Adaptation) models. LoRA is a method used to fine-tune large pre-trained neural network models efficiently. It allows for quick adaptations of models to specific tasks or datasets by updating only a small part of the model.
Benefits of Using LoRA
LoRA enables you to:
- Generate specific objects that the model may not have been able to create before.
- Accurately depict unique individuals by capturing their features and style.
- Emulate specific art styles, such as impressionism or surrealism.
Think of LoRA as a specialized attachment for a toolbox, allowing you to perform specific tasks without needing an entirely new model.
Downloading and Using LoRA Models
Link download lora use in tut
https://civitai.com/models/157594/aether-fire-lora-for-sdxl
https://civitai.com/models/141029/aether-cloud-lora-for-sdxl
To use LoRA models, you can download them from the Civit AI website. Here’s how:
- Navigate to the models tab and filter for LoRA models.
- Ensure you select models compatible with your base model (e.g., SDXL).
- Download the desired models and place them in the ComfyUI models folder under the LoRA directory.
After downloading, refresh ComfyUI to see the new models. To integrate a LoRA model into your workflow, use the Load LoRA node and connect it logically between the load checkpoint and the K sampler.
Using LoRA in Your Workflow
When using a LoRA model, ensure that the adjustments are applied before the prompt encoding. This ensures that the modified model interprets the prompts correctly. For example, if you are using a LoRA model specialized in clouds, include the trigger words specified in the model documentation.
Adjusting Strength Values
The Strength Model option determines how strongly the LoRA adjustments are applied. A typical range is between 0.3 and 1. Using a value too high may degrade the image quality, so it’s best to experiment within this range.
Conclusion
In this tutorial, we covered the basics of the IMG2IMG workflow and how to utilize LoRA models in ComfyUI. By understanding the importance of denoising strength, image size, and the functionality of LoRA, you can enhance your image generation capabilities significantly. Experiment with different prompts and settings to discover the full potential of ComfyUI.
Thank you for following along, and I hope you found this guide helpful!

